출처 : https://www.howtoforge.com/tutorial/virtual-hosting-with-vsftpd-and-mysql-on-ubuntu-15.10/
개인 적으로 필요한 내용만 정리 할려다가 전체 흐름을 모두 남겨둠.
1 Preliminary Note
In this tutorial I use the hostname server1.example.com with the IP address 192.168.1.100. These settings might differ for you, so you have to replace them where appropriate.
Because we must run all the steps from this tutorial with root privileges, we can either prepend all commands in this tutorial with the string sudo, or we become root right now by typing
sudo su
2 Install vsftpd, MySQL And phpMyAdmin
Vsftpd has no built-in MySQL support, therefore we must use PAM to authenticate against the MySQL database. So we install libpam-mysql in addition to vsftpd, MySQL, and phpMyAdmin:
apt-get -y install vsftpd libpam-mysql mysql-server mysql-client phpmyadmin libpam-ldap
You will be asked the following questions:
New password for the MySQL “root” user: <– yourrootsqlpassword
Repeat password for the MySQL “root” user: <– yourrootsqlpassword
LDAP server Uniform Resource Identifier: <– ENTER
Distinguished name of the search base: <– ENTER
LDAP version to use: <– 3
Make local root Database admin: <– Yes
Does the LDAP database require login? <– No
LDAP account for root: <– ENTER
LDAP root account password: <– ldaprootpw
Web server to configure automatically: <– Select the option: apache2
Configure database for phpmyadmin with dbconfig-common? <– Yes
Password of the database’s administrative user: <– Enter the MariaDB root password
MySQL application password for phpmyadmin: <– Press enter, apt will create a random password automatically.
3 Create the MySQL Database for vsftpd
Now we create a database called vsftpd and a MySQL user named vsftpd which the vsftpd daemon will use later on to connect to the vsftpd database:
mysql –defaults-file=/etc/mysql/debian.cnf
CREATE DATABASE vsftpd;
GRANT SELECT, INSERT, UPDATE, DELETE, CREATE, DROP ON vsftpd.* TO ‘vsftpd’@’localhost’ IDENTIFIED BY ‘ftpdpass’;
GRANT SELECT, INSERT, UPDATE, DELETE, CREATE, DROP ON vsftpd.* TO ‘vsftpd’@’localhost.localdomain’ IDENTIFIED BY ‘ftpdpass’;
FLUSH PRIVILEGES;
Replace the string ftpdpass with whatever password you want to use for the MySQL user vsftpd. Still on the MySQL shell, we create the database table we need (yes, there is only one table!):
USE vsftpd;
CREATE TABLE `accounts` (
`id` INT NOT NULL AUTO_INCREMENT PRIMARY KEY ,
`username` VARCHAR( 30 ) NOT NULL ,
`pass` VARCHAR( 50 ) NOT NULL ,
UNIQUE (
`username`
)
);
quit;
As you may have noticed, with the quit; command we have left the MySQL shell and are back on the Linux shell.
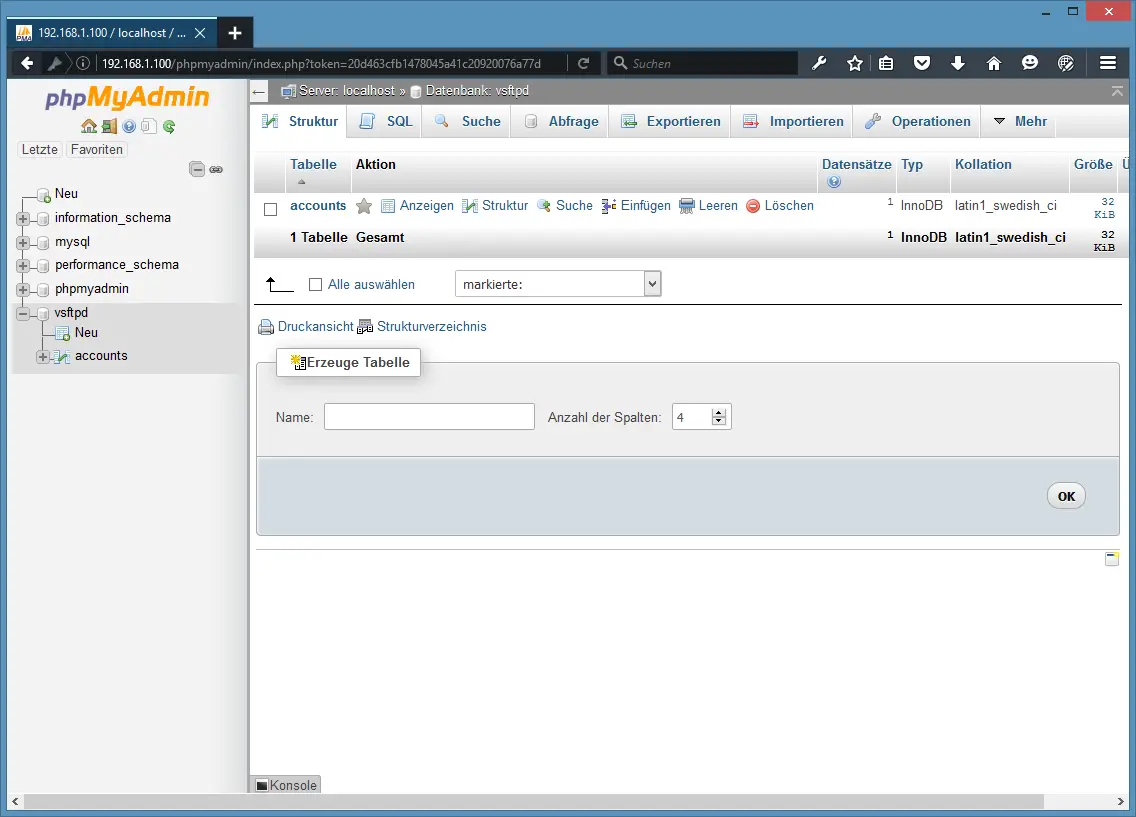
BTW, (I’m assuming that the hostname of your ftp server system is server1.example.com) you can access phpMyAdmin underhttp://server1.example.com/phpmyadmin/ (you can also use the IP address instead of server1.example.com) in a browser and log in as the uservsftpd. Then you can have a look at the database. Later on you can use phpMyAdmin to administrate your vsftpd server.
4 Configure vsftpd
First we create a non-privileged user called vsftpd (with the homedir /home/vsftpd) belonging to the group nogroup. We will run vsftpd under this user, and the FTP directories of our virtual users will be in the /home/vsftpd directory (e.g. /home/vsftpd/user1, /home/vsftpd/user2, etc.).
useradd –home /home/vsftpd –gid nogroup -m –shell /bin/false vsftpd
Then we make a backup of the original /etc/vsftpd.conf file and create our own:
cp /etc/vsftpd.conf /etc/vsftpd.conf_orig
cat /dev/null > /etc/vsftpd.conf
nano /etc/vsftpd.conf
The file should have the following contents:
listen=YES
anonymous_enable=NO
local_enable=YES
write_enable=YES
local_umask=022
dirmessage_enable=YES
xferlog_enable=YES
connect_from_port_20=YES
nopriv_user=vsftpd
chroot_local_user=YES
secure_chroot_dir=/var/run/vsftpd
pam_service_name=vsftpd
rsa_cert_file=/etc/ssl/certs/vsftpd.pem
guest_enable=YES
guest_username=vsftpd
local_root=/home/vsftpd/$USER
user_sub_token=$USER
virtual_use_local_privs=YES
user_config_dir=/etc/vsftpd_user_conf
The configuration options are explained on http://vsftpd.beasts.org/vsftpd_conf.html. The important options for our virtual setup arechroot_local_user, guest_enable, guest_username, user_sub_token, local_root, and virtual_use_local_privs.
With the user_config_dir option you can specify a directory for per-user configuration files that override parts of the global settings. This is totally optional and up to you if you want to use this feature. However, we should create that directory now:
mkdir /etc/vsftpd_user_conf
Now we must configure PAM so that it uses the MySQL database to authenticate our virtual FTP users instead of /etc/passwd and /etc/shadow. The PAM configuration for vsftpd is in /etc/pam.d/vsftpd. We make a backup of the original file and create a new one like this:
cp /etc/pam.d/vsftpd /etc/pam.d/vsftpd_orig
cat /dev/null > /etc/pam.d/vsftpd
nano /etc/pam.d/vsftpd
auth required pam_mysql.so user=vsftpd passwd=ftpdpass host=localhost db=vsftpd table=accounts usercolumn=username passwdcolumn=pass crypt=2
account required pam_mysql.so user=vsftpd passwd=ftpdpass host=localhost db=vsftpd table=accounts usercolumn=username passwdcolumn=pass crypt=2
Please make sure that you replace the MySQL password with your own one!
Afterwards, we restart vsftpd:
service vsftpd restart
5 Creating the SSL Certificate for TLS
In order to use TLS, we must create an SSL certificate. I create it in /etc/ssl/private – if the directory doesn’t exist, create it now::
mkdir -p /etc/ssl/private
chmod 700 /etc/ssl/private
Afterwards, we can generate the SSL certificate as follows:
openssl req -x509 -nodes -days 365 -newkey rsa:1024 -keyout /etc/ssl/private/vsftpd.pem -out /etc/ssl/private/vsftpd.pem
Country Name (2 letter code) [AU]: <– Enter your Country Name (e.g., “DE”).
State or Province Name (full name) [Some-State]:<– Enter your State or Province Name.
Locality Name (eg, city) []:<– Enter your City.
Organization Name (eg, company) [Internet Widgits Pty Ltd]:<– Enter your Organization Name (e.g., the name of your company).
Organizational Unit Name (eg, section) []:<– Enter your Organizational Unit Name (e.g. “IT Department”).
Common Name (eg, YOUR name) []:<– Enter the Fully Qualified Domain Name of the system (e.g. “server1.example.com”).
Email Address []:<– Enter your Email Address.
6 Enabling TLS in vsftpd
In order to enable TLS in vsftpd, open /etc/vsftpd.conf…
nano /etc/vsftpd.conf
… and add the following options:
# Turn on SSL
ssl_enable=YES
# Allow anonymous users to use secured SSL connections
allow_anon_ssl=YES
# All non-anonymous logins are forced to use a secure SSL connection in order to
# send and receive data on data connections.
force_local_data_ssl=YES
# All non-anonymous logins are forced to use a secure SSL connection in order to send the password.
force_local_logins_ssl=YES
# Permit TLS v1 protocol connections. TLS v1 connections are preferred
ssl_tlsv1=YES
# Permit SSL v2 protocol connections. TLS v1 connections are preferred
ssl_sslv2=NO
# permit SSL v3 protocol connections. TLS v1 connections are preferred
ssl_sslv3=NO
# Disable SSL session reuse (required by WinSCP)
require_ssl_reuse=NO
# Select which SSL ciphers vsftpd will allow for encrypted SSL connections (required by FileZilla)
ssl_ciphers=HIGH
# This option specifies the location of the RSA certificate to use for SSL
# encrypted connections.
rsa_cert_file=/etc/ssl/private/vsftpd.pem
[…]
If you use force_local_logins_ssl=YES and force_local_data_ssl=YES, then only TLS connections are allowed (this locks out any users with old FTP clients that don’t have TLS support); by using force_local_logins_ssl=NO and force_local_data_ssl=NO both TLS and non-TLS connections are allowed, depending on what the FTP client supports.
Restart vsftpd afterwards:
service vsftpd restart
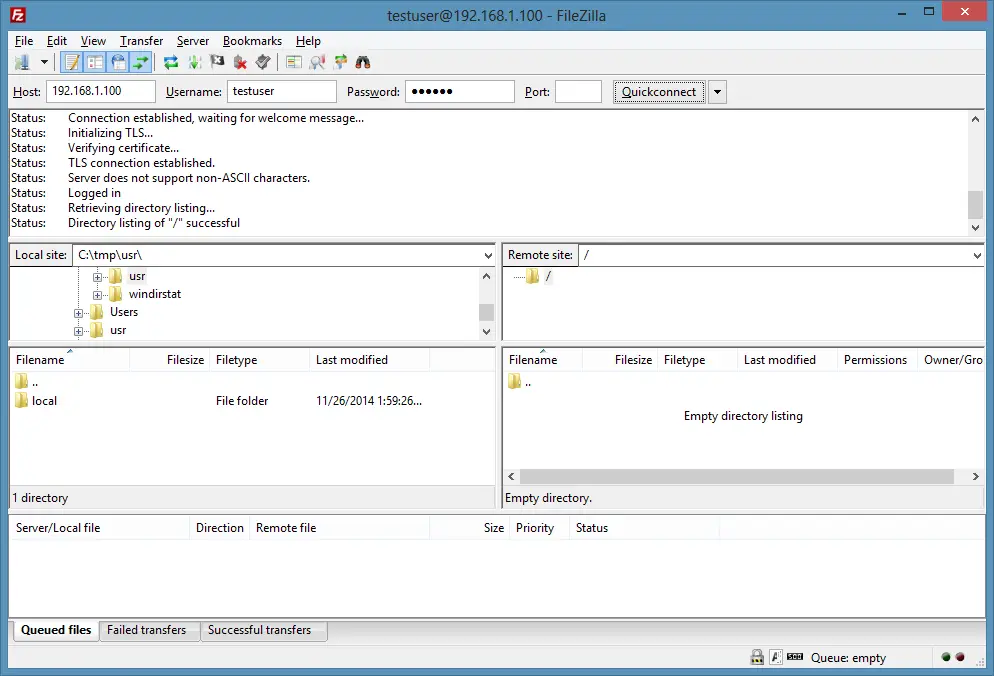
That’s it. You can now try to connect using your FTP client; however, you should configure your FTP client to use TLS (this is a must if you useforce_local_logins_ssl=YES and force_local_data_ssl=YES) – see the next chapter how to do this with FileZilla.
7 Create the first Virtual User
To populate the database you can use the MySQL shell:
mysql –defaults-file=/etc/mysql/debian.cnf
USE vsftpd;
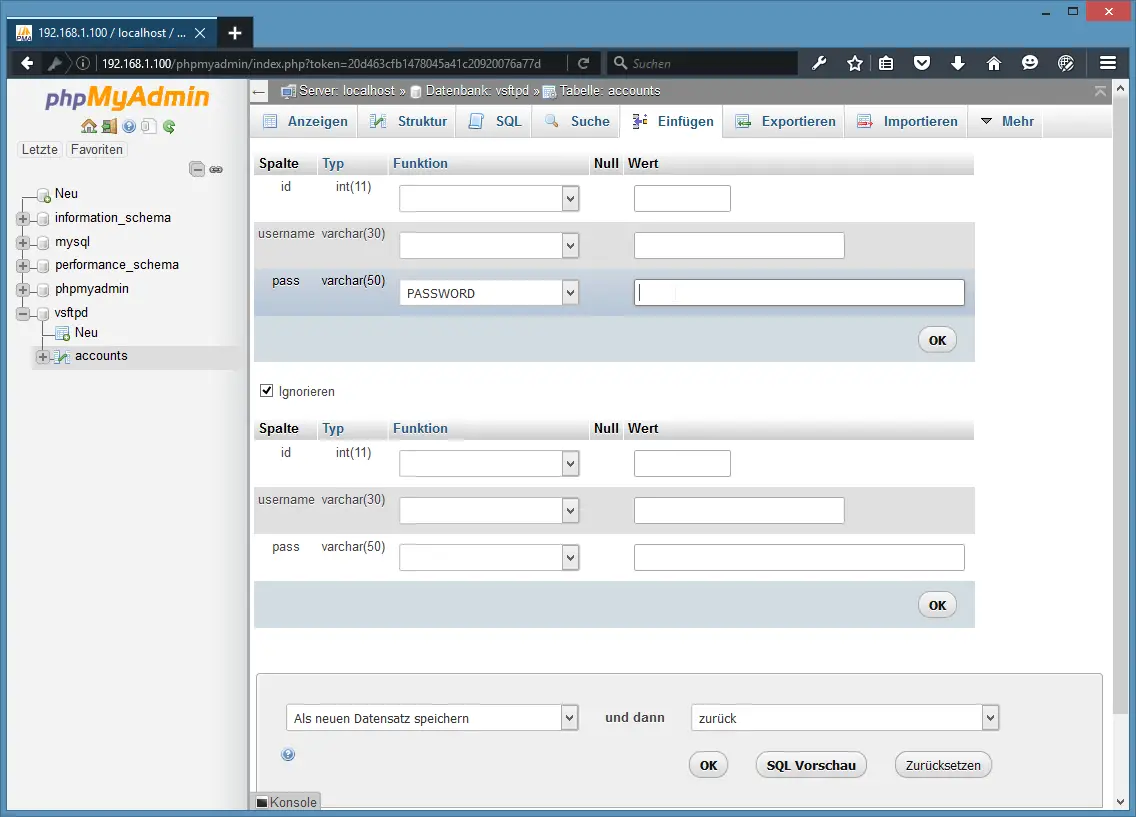
Now we create the virtual user testuser with the password secret (which will be stored encrypted using MySQL’s PASSWORD function):
INSERT INTO accounts (username, pass) VALUES(‘testuser’, PASSWORD(‘secret’));
quit;
testuser‘s homedir is /home/vsftpd/testuser; unfortunately, vsftpd doesn’t create that directory automatically if it doesn’t exist. Therefore, we create it manually now and make it owned by the vsftpd user and the nogroup group:
mkdir /home/vsftpd/testuser
chown vsftpd:nogroup /home/vsftpd/testuser
chmod a-w /home/vsftpd/testuser
Now open your FTP client program on your work station (something like FileZilla or FireFTP) and try to connect. As hostname you useserver1.example.com (or the IP address of the system), the username is testuser, and the password is secret.
8 Database Administration
For most people it is easier if they have a graphical front-end to MySQL; therefore you can also use phpMyAdmin (in this example underhttp://server1.example.com/phpmyadmin/) to administrate the vsftpd database.
Whenever you create or modify a user, make sure that you use MySQL’s PASSWORD function to encrypt that user’s password. Also, when you create a new virtual user, please don’t forget to create that user’s homedir on the shell, as shown at the end of the previous chapter.
9 Virtual Machine image
This tutorial is available as ready to use virtual machine in OVA / OVF format for Howtoforge subscribers. The VM format is compatible with VMWare and Virtualbox and other tools that can import this format. You can find the download link in the right menu on the top. Click on the filename to start the download.
The login details of the VM are:
SSH Login
Username: administrator
Password: howtoforge
The administrator user has sudo permissions.
MySQL Login
Username: root
Password: howtoforge
Please change the passwords after the first boot.
The VM is configured for the static IP 192.168.1.100, the IP can be changed in the file /etc/network/interfaces.
10 Links
- vsftpd: http://vsftpd.beasts.org/
- Ubuntu: http://www.ubuntu.com/
출처 : https://www.howtoforge.com/tutorial/virtual-hosting-with-vsftpd-and-mysql-on-ubuntu-15.10/